QC Allocation Process
Last updated: March 11, 2026
This QC Process Help Documentation outlines the updated workflow for managing Quality Control (QC) activities, designed to create a more streamlined, automated, and efficient collaboration between Team Members and Project Managers. By eliminating manual tasks such as tag management at the PM end, the process enhances overall efficiency, improves system performance, and ensures more accurate and reliable record-keeping.
Uploading Documents:
The Project Managers (PMs) will upload the Output Register files and QC Checklists to the system.
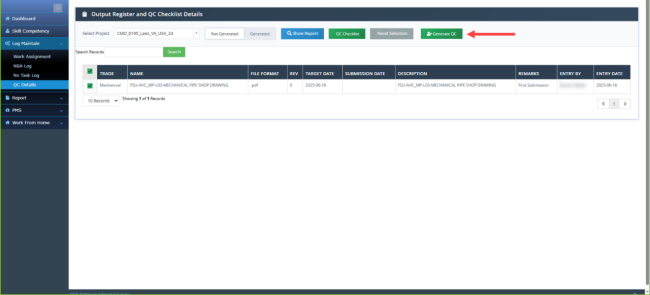
Requesting QC Check (TM Account > Log Maintain > QC Details):
Team Members have to select the eligible projects (Projects where untagged Output Registers are present) and Click on Show Report.
They can easily view the Output Registers and QC Checklists from the page.
For generating a QC Assignment, they need to select the relevant Output Registers and Click on “Generate QC”
Generate QC Page:
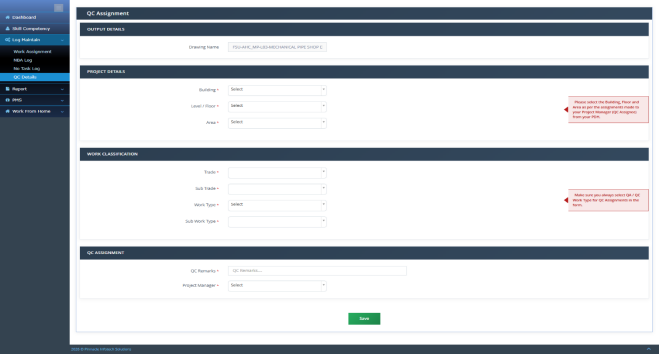
A request form will open with the following fields:
Drawing Name: Drawing Name will be displayed on selection of 1 Output Register or count of Output Registers will be displayed when multiple OR’s are tagged.
Building Details: All Buildings created for the Project will appear in the Dropdown.
Floor Details: All Floors relevant to the Building selected will appear in the Dropdown.
Area/Zone Details: All Area/Zones relevant to the Building and Floor selected will appear in the dropdown.
Trade/Sub Trade/Work type/Sub work type: All relevant categories and work classification data will appear in the dropdown.
QC Remarks: Team Members need to enter relevant QC Remarks.
Project Manager: Name of Project Manager which is relevant to the Project and hierarchy of the Team Structure will appear here.
Important Notes:
Team Members need to determine that the selection of building, level and floor and QC Request Assignee (Project Manager) should match with the assignments already made from the PDH to the respective Project Manager. If it mismatches, the Assignment cannot be approved.
Team Members should always select Work type as QA / QC.
Tagging QC Checklists:
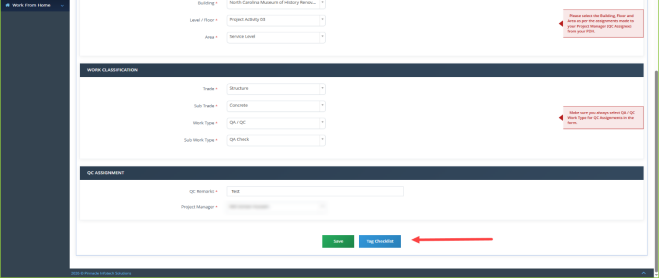
After QC Assignment has been saved successfully, Tag Checklist button is enabled and Team Member can easily tag the relevant checklists.
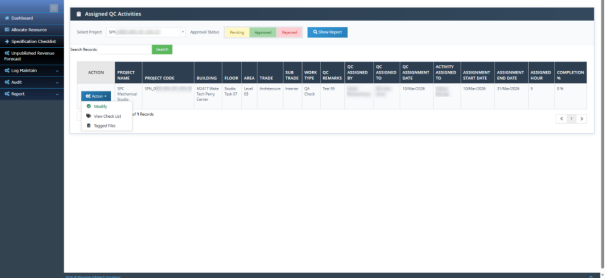
Assigned QC Activities (TM Account > Log Maintain > QC Assignments):
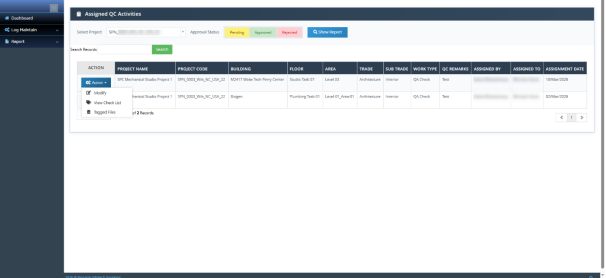
Team Members can view their QC Assignment requests from this page. They can modify the activity, view tagged files and checklists.
Once the request has been approved, it is no longer possible to modify the Assignment.
Project Manager (PM Account > QC Assignments):
Assignment Requests:
Project Manager can view the files tagged along with tagged checklists from the page.
Project Manager has the complete authority to approve or reject the QC Assignment requests made by their respective Team Members.
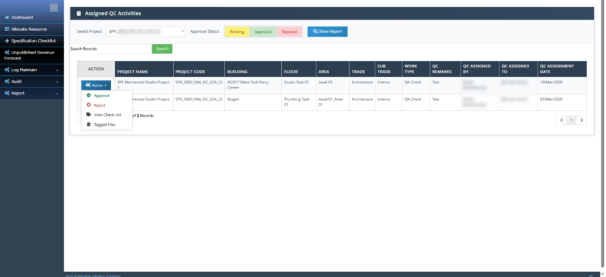
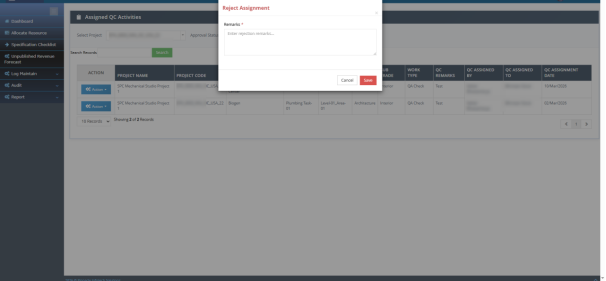
If the QC assignment made by the fellow team members seems unfit for the QC Process, PM can easily reject the QC Assignment by entering the specific reason behind the rejection.
QC Assignment – QA/QC Activity
Assignment Approval:
Once Project Manager clicks on Approve, the activity assignment page opens with the already submitted metadata.
Project Manager needs to enter specific details such as:
· Remarks
· Deliverable Quantity
· Effort Level
· Submission Type
· Team Member
· Billable Hour
· Work Start Date
· Work End Date
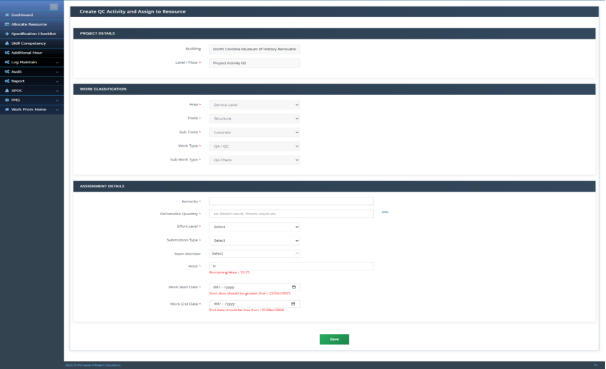
Once data has been saved, Project Manager has the option to modify the QC assigned activity and update any available details.
Once activity has been logged, Project Manager can only update the End Date of the assignment.
Activities assigned will be available under Log Maintain > Work Assignment.